

So You Are Keeping Your Trim… Now What?
If you are remodeling your kitchen, it’s only a matter of time until the question of kitchen trim design comes up. Every article and every designer has an opinion on whether to remove the trim and get new, or keep and re-stain or paint the existing trim. Which way is the right way?
Many people have the same trim – and sometimes wood floors – throughout their entire home, making them lean towards keeping their existing trim when implementing a new design. The desire to keep existing trim is often because homeowners don’t want the trim in the rest of the home to be inconsistent with the kitchen. In addition, replacing the trim in one room can create a domino effect where the homeowner feels inclined to replace it in other rooms, including the fireplace mantle, the staircase, and more – which is not only expensive, but also a total headache.
With rising cost of lumber, keeping and/or revamping trim is becoming increasingly popular in many of today’s home renovations, as it is far cheaper than buying and installing new.
Some common trim questions we see are:
- Do I keep or change my trim?
- If I change the trim in my kitchen, do I need to change it throughout my entire home?
- Can I work my existing trim into my new design?
- How can I transition my trim from room to room?
There is no right or wrong answer when it comes to what you should do with your kitchen trim design because every situation is different. It will come down to factors such as your home’s floorplan, your design style, and your budget. What we can do is help you create a color story for your new kitchen that goes with your existing trim, or give you guidance on refinishing or replacing existing trim and show you how to create a transition into the rest of the home that makes sense.
Say you’ve decided to keep your trim. Where do you go from here? There are three different ways you can go about remodeling your space while keeping your existing trim:
1. Removing the Trim
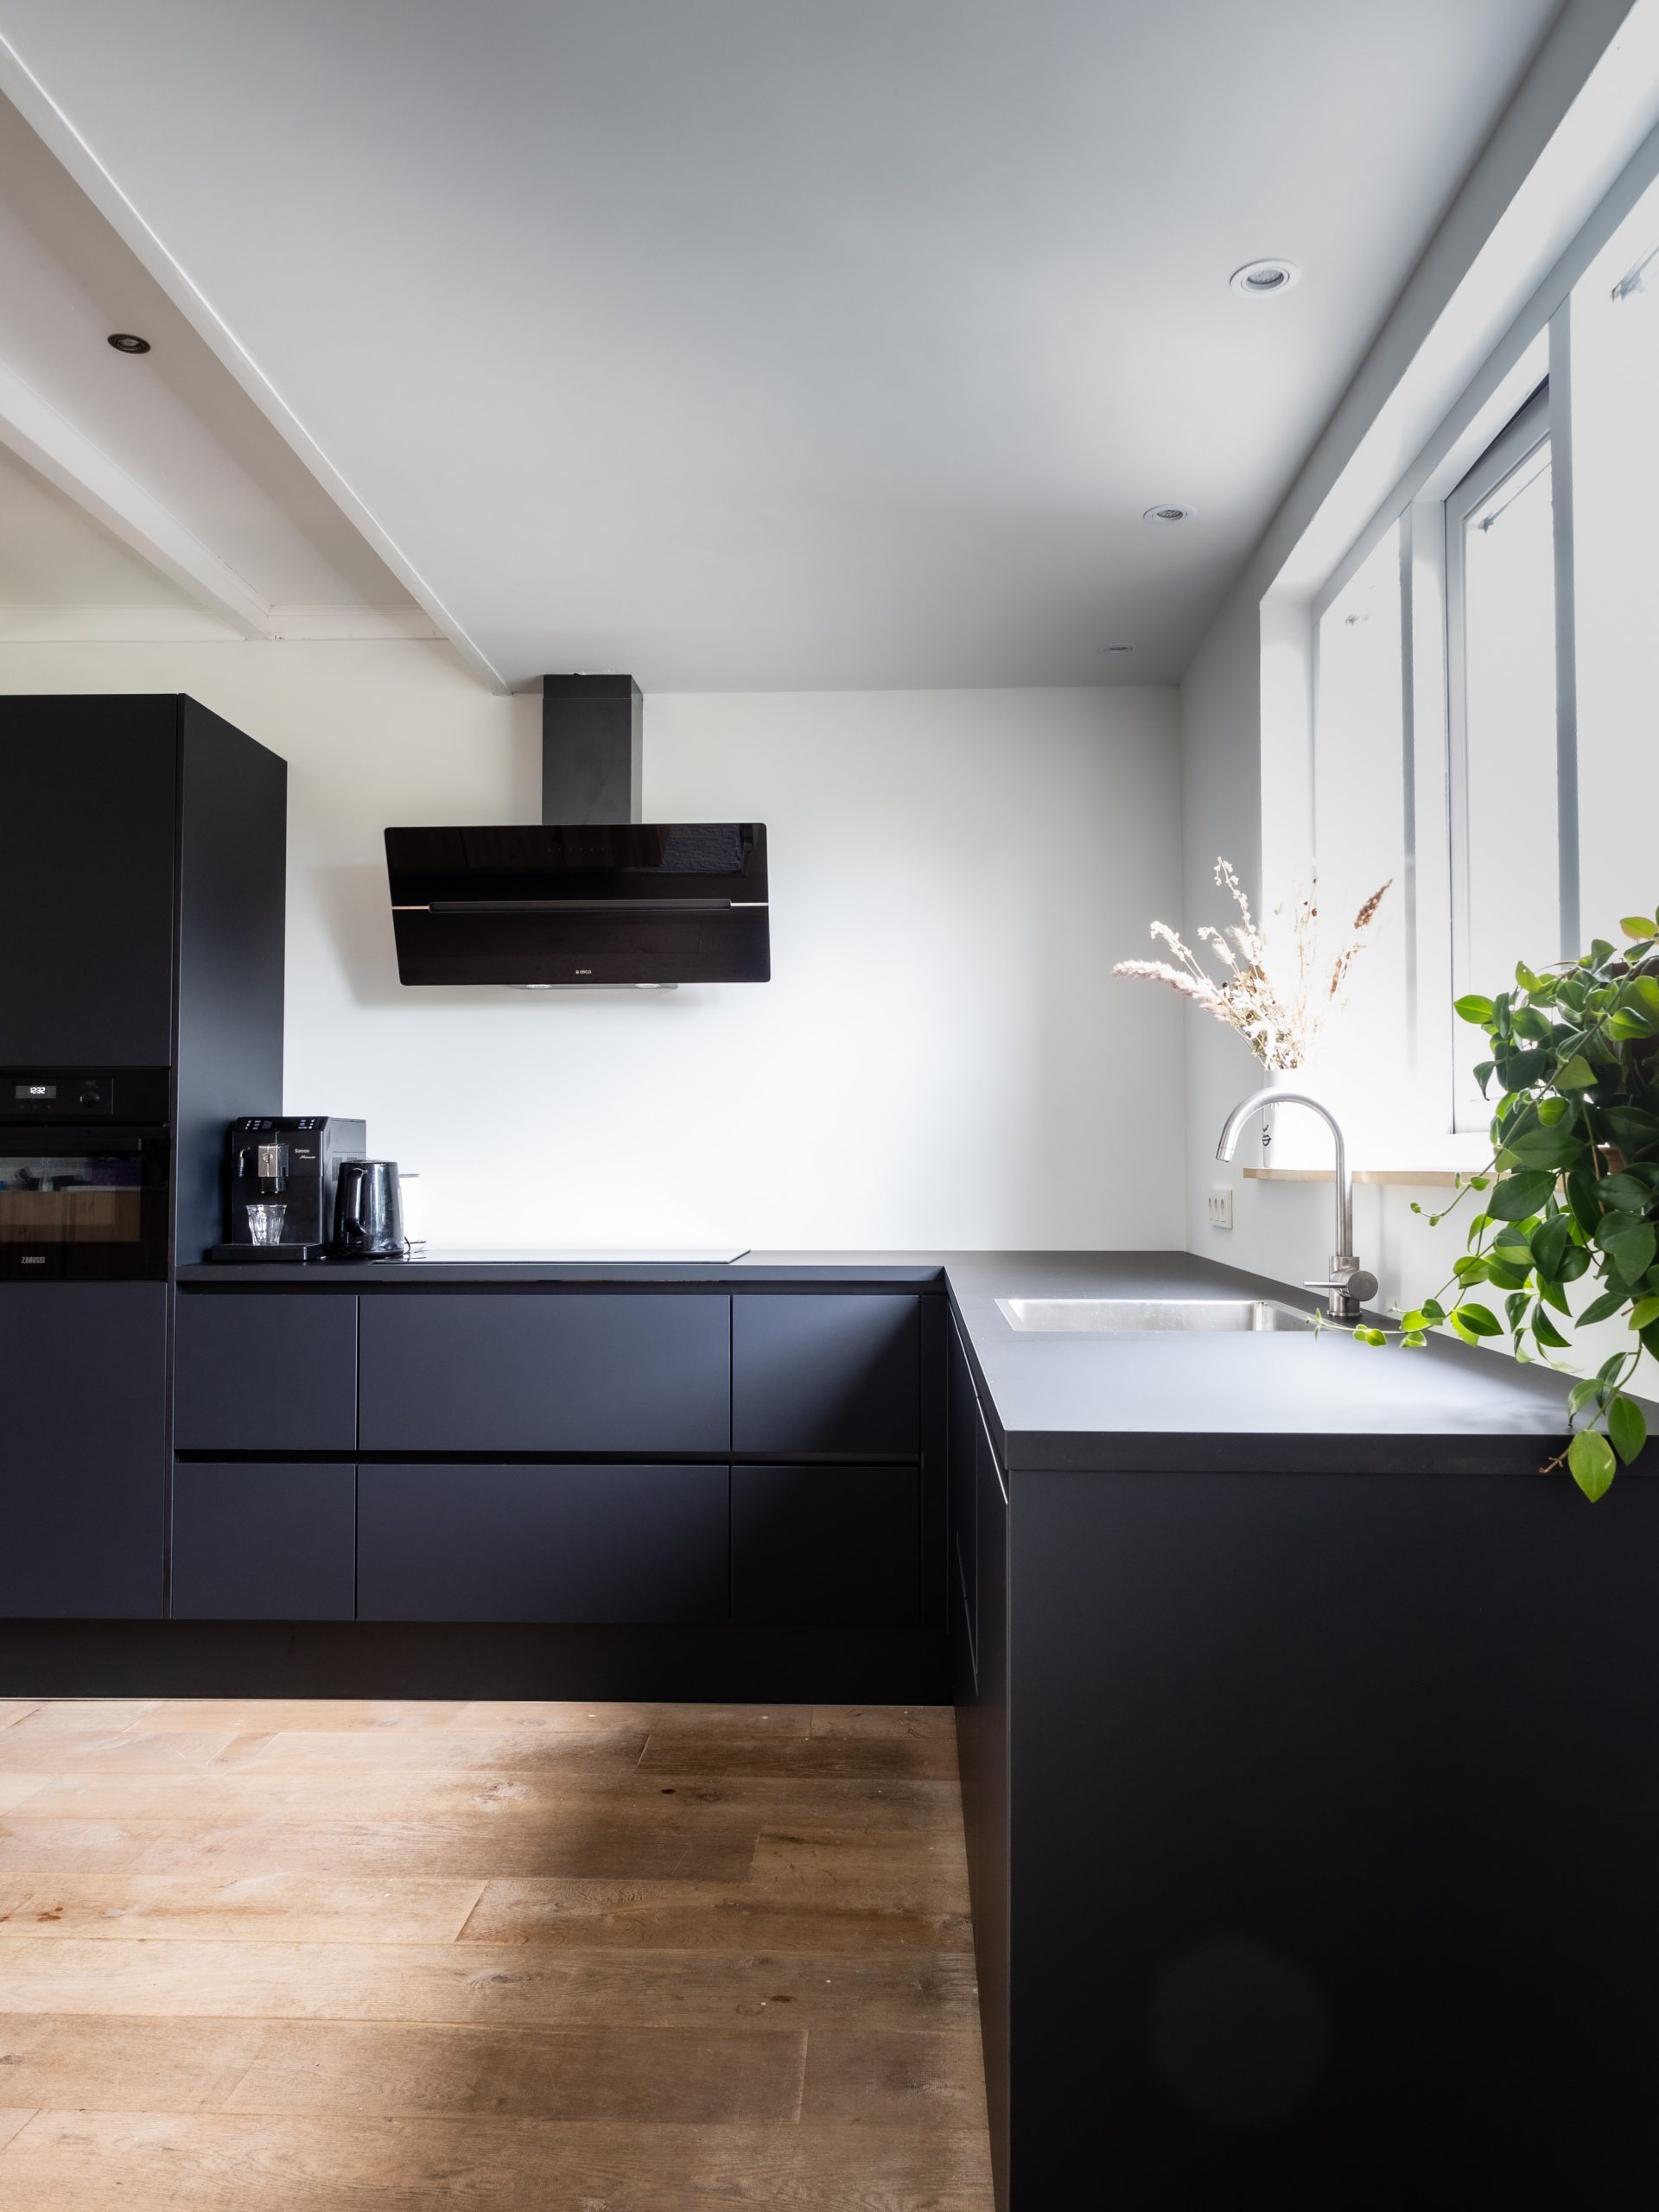
Sometimes the easiest decision to make about trim is just to remove it entirely! Getting rid of trim entirely eliminates the problem of making it cohesive with other rooms. This is an easy and affordable solution if you are remodeling your space because after removal of the trim, all you need to do is touch up the paint on the walls. Great if you already plan to change wall colors!
This is especially useful in contemporary designs as the absence of trim helps create a sleek and minimalist look.
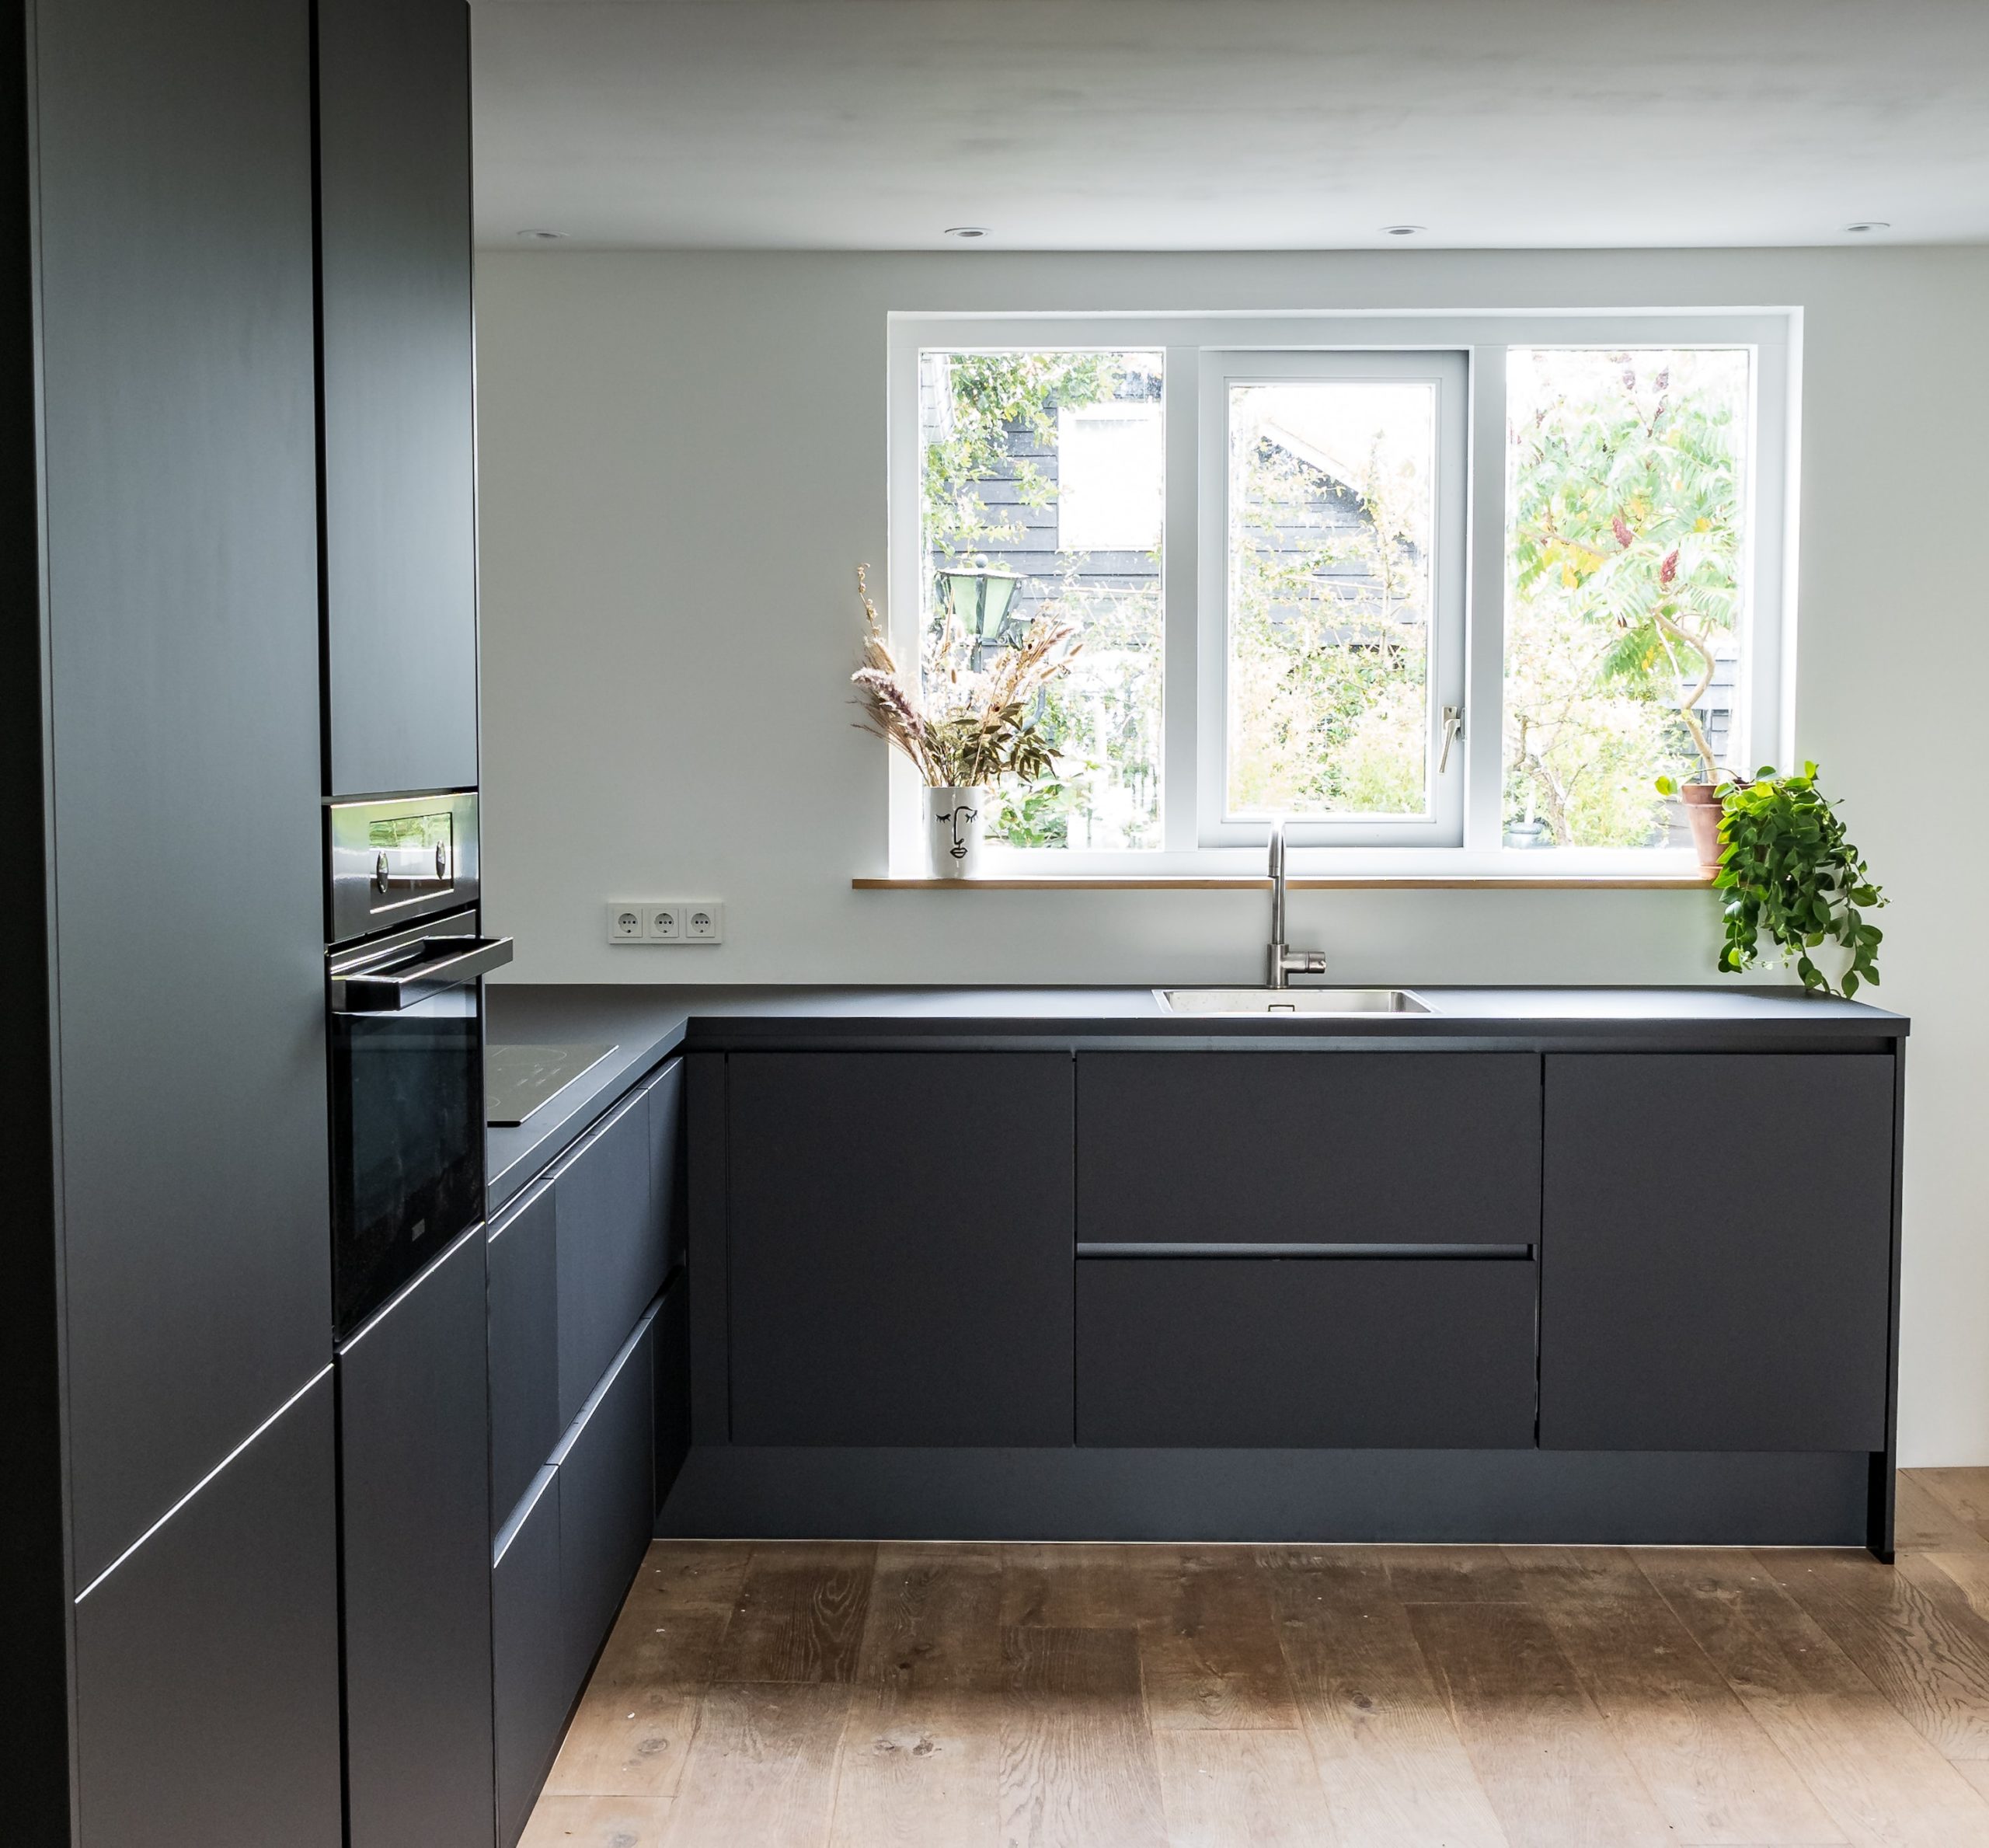
 Photos by Sven Brandsma
2. Re-finish/re-paint the Trim
By re-painting or re-staining your existing trim, you get to keep your trim’s style consistent with the rest of the home but give it a fresh new look that better complements your new kitchen design.
We can help you decide where the newly painted/stained trim will stop and start so that your rooms don’t look disjointed or choppy.
One thing we would not recommend is using multiple trim colors in the various spaces in an open concept situation. For example, we wouldn’t want to paint the kitchen trim white and leave the dining room wood if there’s a lack of division between the rooms. Even a wide doorway or an opening between the rooms may not be enough to create a natural break. Connected spaces simply ought to match. In other words, if your kitchen is closed off from the adjacent rooms, you can probably get away with re-staining your kitchen trim, but if your kitchen is part of an open concept design, we would recommend keeping the same trim throughout as there won’t be a clear stopping and starting point for the newly stained trim.
Another option to consider is using trim as an accent in one or two rooms. Select one trim color to be the main color throughout your home and pick another (painted or wood) to be the accent. Whether you choose wood or white for the main color is entirely up to you, but in order to maintain some uniformity we’d highly recommend selecting one style/color for the majority of your home.
If you have a separate room that is clearly divided from adjoining rooms you could start the transition on the trim around the opening that leads into the “accent” room. This is a great way to change up your trim but avoid that “waterfall effect” with other rooms.

 A doorway creates a natural divide between this kitchen and pantry allowing for an easy transition from the warm wood to Silver Mist trim. Project: English Pantry
It’s important to keep in mind that re-staining existing trim is costly, and most contractors will advise against it as the cost of re-staining trim is often more than replacing it with new. This is because your contractor would need to remove that trim from the wall, sand it, stain it, and then reinstall it. Extra steps tend to cost more money. Repainting your trim could be a more affordable option, because with proper taping and floor and wall protection, you can sand and repaint your trim without having to remove and reinstall it.
Note that you CAN paint over stained trim! But you must sand down the polyurethane (shiny topcoat) prior to painting, otherwise your paint won’t adhere properly.
3. Work your trim into the new design
If you are adamant about keeping your trim consistent throughout your home, your designer can work it into your kitchen’s new design. Since kitchen remodels usually don’t affect the whole home, keeping some existing features such as the trim or flooring can help create consistency between the existing and the renovated parts of the home.
Here are two great examples of recent projects that worked existing trim into a new design:

Our designer worked alongside an interior designer to bring this 70’s style home into the 21st century. A challenge in this project was to design the new space so that it would blend well with the original style of the home. The updated design needed to work with the existing space’s wood floors and honey Oak trim. To achieve this the designers selected Wynnbrooke cabinetry in Sherwin-Williams’ Ellie Gray painted finish for the wall cabinets, White Oak base cabinets in Coastal finish, and warm brass cabinet hardware and lighting.
In this kitchen remodel, the existing trim was to remain as is throughout the rest of the home. The designers opted to leave it and re-stain the wood floors to coordinate and freshen up the feel of the wood. Throughout the selection process, the aim was to pull a design that felt fresh and up-to-date while also coordinating with the existing features of the home, which dictated a warmer color palette with the cabinetry stain and paint.
The White Oak base cabinets complement the warmth of the honey Oak trim which help it blend into the new design.
Another example of a kitchen design that incorporated the original trim is this Revival House project, Foxhall Modern. The combination of Dura Supreme’s Chroma door style upper cabinets in the White painted finish and Hudson door style base cabinets finished in a personal paint match to Sherwin-Williams’ Foxhall Green perfectly complement this kitchen’s existing trim. The goal of this remodel was to create a fresh, modern space that was compatible with the rest of the home.

We typically see a lot of honey Oak trim, but this space was a perfect example of designing around a darker wood!

If we can leave you with anything today, it’s the notion that deciding to keep your trim will not limit your design decisions and creative possibilities! We’ve put together a few different color stories that feature some common trim types: Honey Oak, 2000’s Mocha, and 70’s Oak in hopes of inspiring you in your next project.
Honey Oak

Pairing Honey Oak trim with an even more saturated orange makes the trim look like more of a true brown. We went with Sherwin-Williams’ Copper Mountain SW6356. The rest of the selections are neutral to keep the overall design from getting overwhelming. The cabinetry is Décor’s Willow paint color, the countertop selection is Cambria’s Salt Lake terrazzo, and the hardware is a satin nickel finish.

For this flat lay we chose Décor’s Asarum green painted cabinetry and Sherwin-Williams’ Steamed Milk SW7554 – a warm cream color. The countertop is Dekton’s xGloss Glacier Natural, and the hardware is Atlas’ U-Turn Pull in Modern Bronze.

Dura Supreme Cabinetry’s Natural stained Red Oak coordinates with the Honey Oak trim while balancing it out. The wall color is Sherwin-Williams’ Ibis White SW7000 – a pinkish white to match the red tones in the Oak. Keranium Tech by Dekton is the countertop/backsplash.
70’s Oak

Choosing cabinetry in an olive green color like Sherwin-Williams’ Palm Leaf SW7735 evens out the yellow/green tones in 70’s Oak trim. The combo inspired a British colonial vibe that lead to an Ashley Norton solid bronze box pull, some Lilian August grass wall covering, Corian’s Alabaster Cement countertop, and Kings Blume Sage tile by Somertile.

In this flat lay we paired the 70’s Oak trim with grey browns and lavenders. The wood stain that compliments the trim is Dura Supreme’s Poppy Seed stained Knotty Alder for the base cabinetry. Décor’s Sea Salt paint is a nice grey/beige for the wall cabinets. Woven wire grill in Bright Nickel is a warm silver finish that adds intrigue. Sherwin-Williams’ Proper Gray SW6003, the MSI’s Urbano Dusk textured subway tile, and Corian’s Neve countertop bring in the lavender.

Décor Cabinets’ Narragansett Green paint color looks stunning with 70’s Oak! We added Sherwin-Williams’ Rookwood Antique Gold SW2814 & Renwick Golden Oak SW2824 to add an elevated feel along with Atlas’ Steam Punk Pull in Vintage Brass and Emtek’s Deco Crystal Knob in the Satin Brass finish. The Moderno Porcelain Works’ Oro White Polished countertop brings together the blue/green and gold tones beautifully.
2000’s Mocha

In the 2000’s dark, true brown wood tones were paired with pastels like mint. Today we’re leaning into more saturated colors like Décor Cabinets’ Studio Green paint color and salmon pink INAX Japanese Tile World’s Accordi tile. The Astek Home Verdure Harapan wall paper brings the colors together with Atlas’ Campaign Round Knob in Polished Brass, and Caesarstone’s Vivid White countertop creates a neutral backdrop to let the other finishes shine.

Again, bring on the saturated colors with the mocha! Inspired by Sherwin-Williams’ Nugget SW6697, we added WOW Mustard Gloss tile and Décor Cabinets’ Pavilion Grey paint color. The rest of the palette we kept neutral with Cambria’s White Cliff countertop, white penny tile, and Top Knobs’ Sanctuary II Indent Knob.

Neutrals are all the rage right now, and guess what? They look great with your 2000’s mocha trim! Here we’ve paired it with Décor Cabinets’ Willow paint color, Sherwin-Williams’ Diverse Beige SW6079, Cambria’s Delgatie countertop, and tile by WOW in Warm Matt.
To learn more about how you can incorporate existing trim into a new design, set up a meeting with one of our kitchen & bath designers!