

You’ve heard of spring-cleaning, but fall is all about decluttering and organizing your home!
The easy-going days of summer are numbered and it’s time to get back to business. Between working from home and remote learning, you’re going to be spending a lot of time in your house and the last thing you want to do is spend all day in a stress-inducing space.
Decluttering your kitchen can be a daunting task. On top of working an 8-5, making sure the kids do their homework and driving everyone to soccer practice, you might feel like you don’t have enough time in the day to get it all done. But rest assured, if you break down the decluttering in a way that works for you, the job will get done before you know it. We find that if you take 10-15 mins each day, breaking down the decluttering into smaller projects, such as pantry one day, under the sink the next, you will get into the habit of decluttering and it will become less of a chore and more of a priority in your day.
Now before you tackle helping your kids with their algebra homework, let’s go over our home’s most simple equation… clutter = visual stress! While this concept seems simple, decluttering your kitchen can be pretty overwhelming if you don’t know where to start. That’s why we are here to get you started with 5 easy steps to declutter your kitchen for fall.
Let’s get started!
Step 1: Donate/Throw Away
The first step in decluttering your kitchen is going through your stuff and finding things to give away or donate. It’s pretty shocking to discover all of the random items that you have accumulated in your home after years of living in it. But when it comes to deciding if an item is worthy to stay in your kitchen or if it needs to go, start by asking yourself these three questions:
- Do you use this item regularly?
- Would you buy this item again?
- Does this item add value to your life and/or make cooking easier or more enjoyable?
If you answered “no” to any of these questions, it’s time to say goodbye!
And while it might be easy to give that old broken mixer the boot, there are some things that are a little harder to get rid of because you’ve had them in your kitchen for 20+ years, thinking that you may someday need them. Realistically, if you haven’t used an item in the past calendar year, it probably doesn’t deserve a home in your kitchen.
Get rid of duplicates!! You don’t need three different sets of measuring cups! And while it can be easy to accumulate numerous sets of glassware, you realistically only need the amount that makes sense for your family. So, get rid of those old chipped mugs you got in college and that random discolored dinner plate. Your kitchen will thank you!
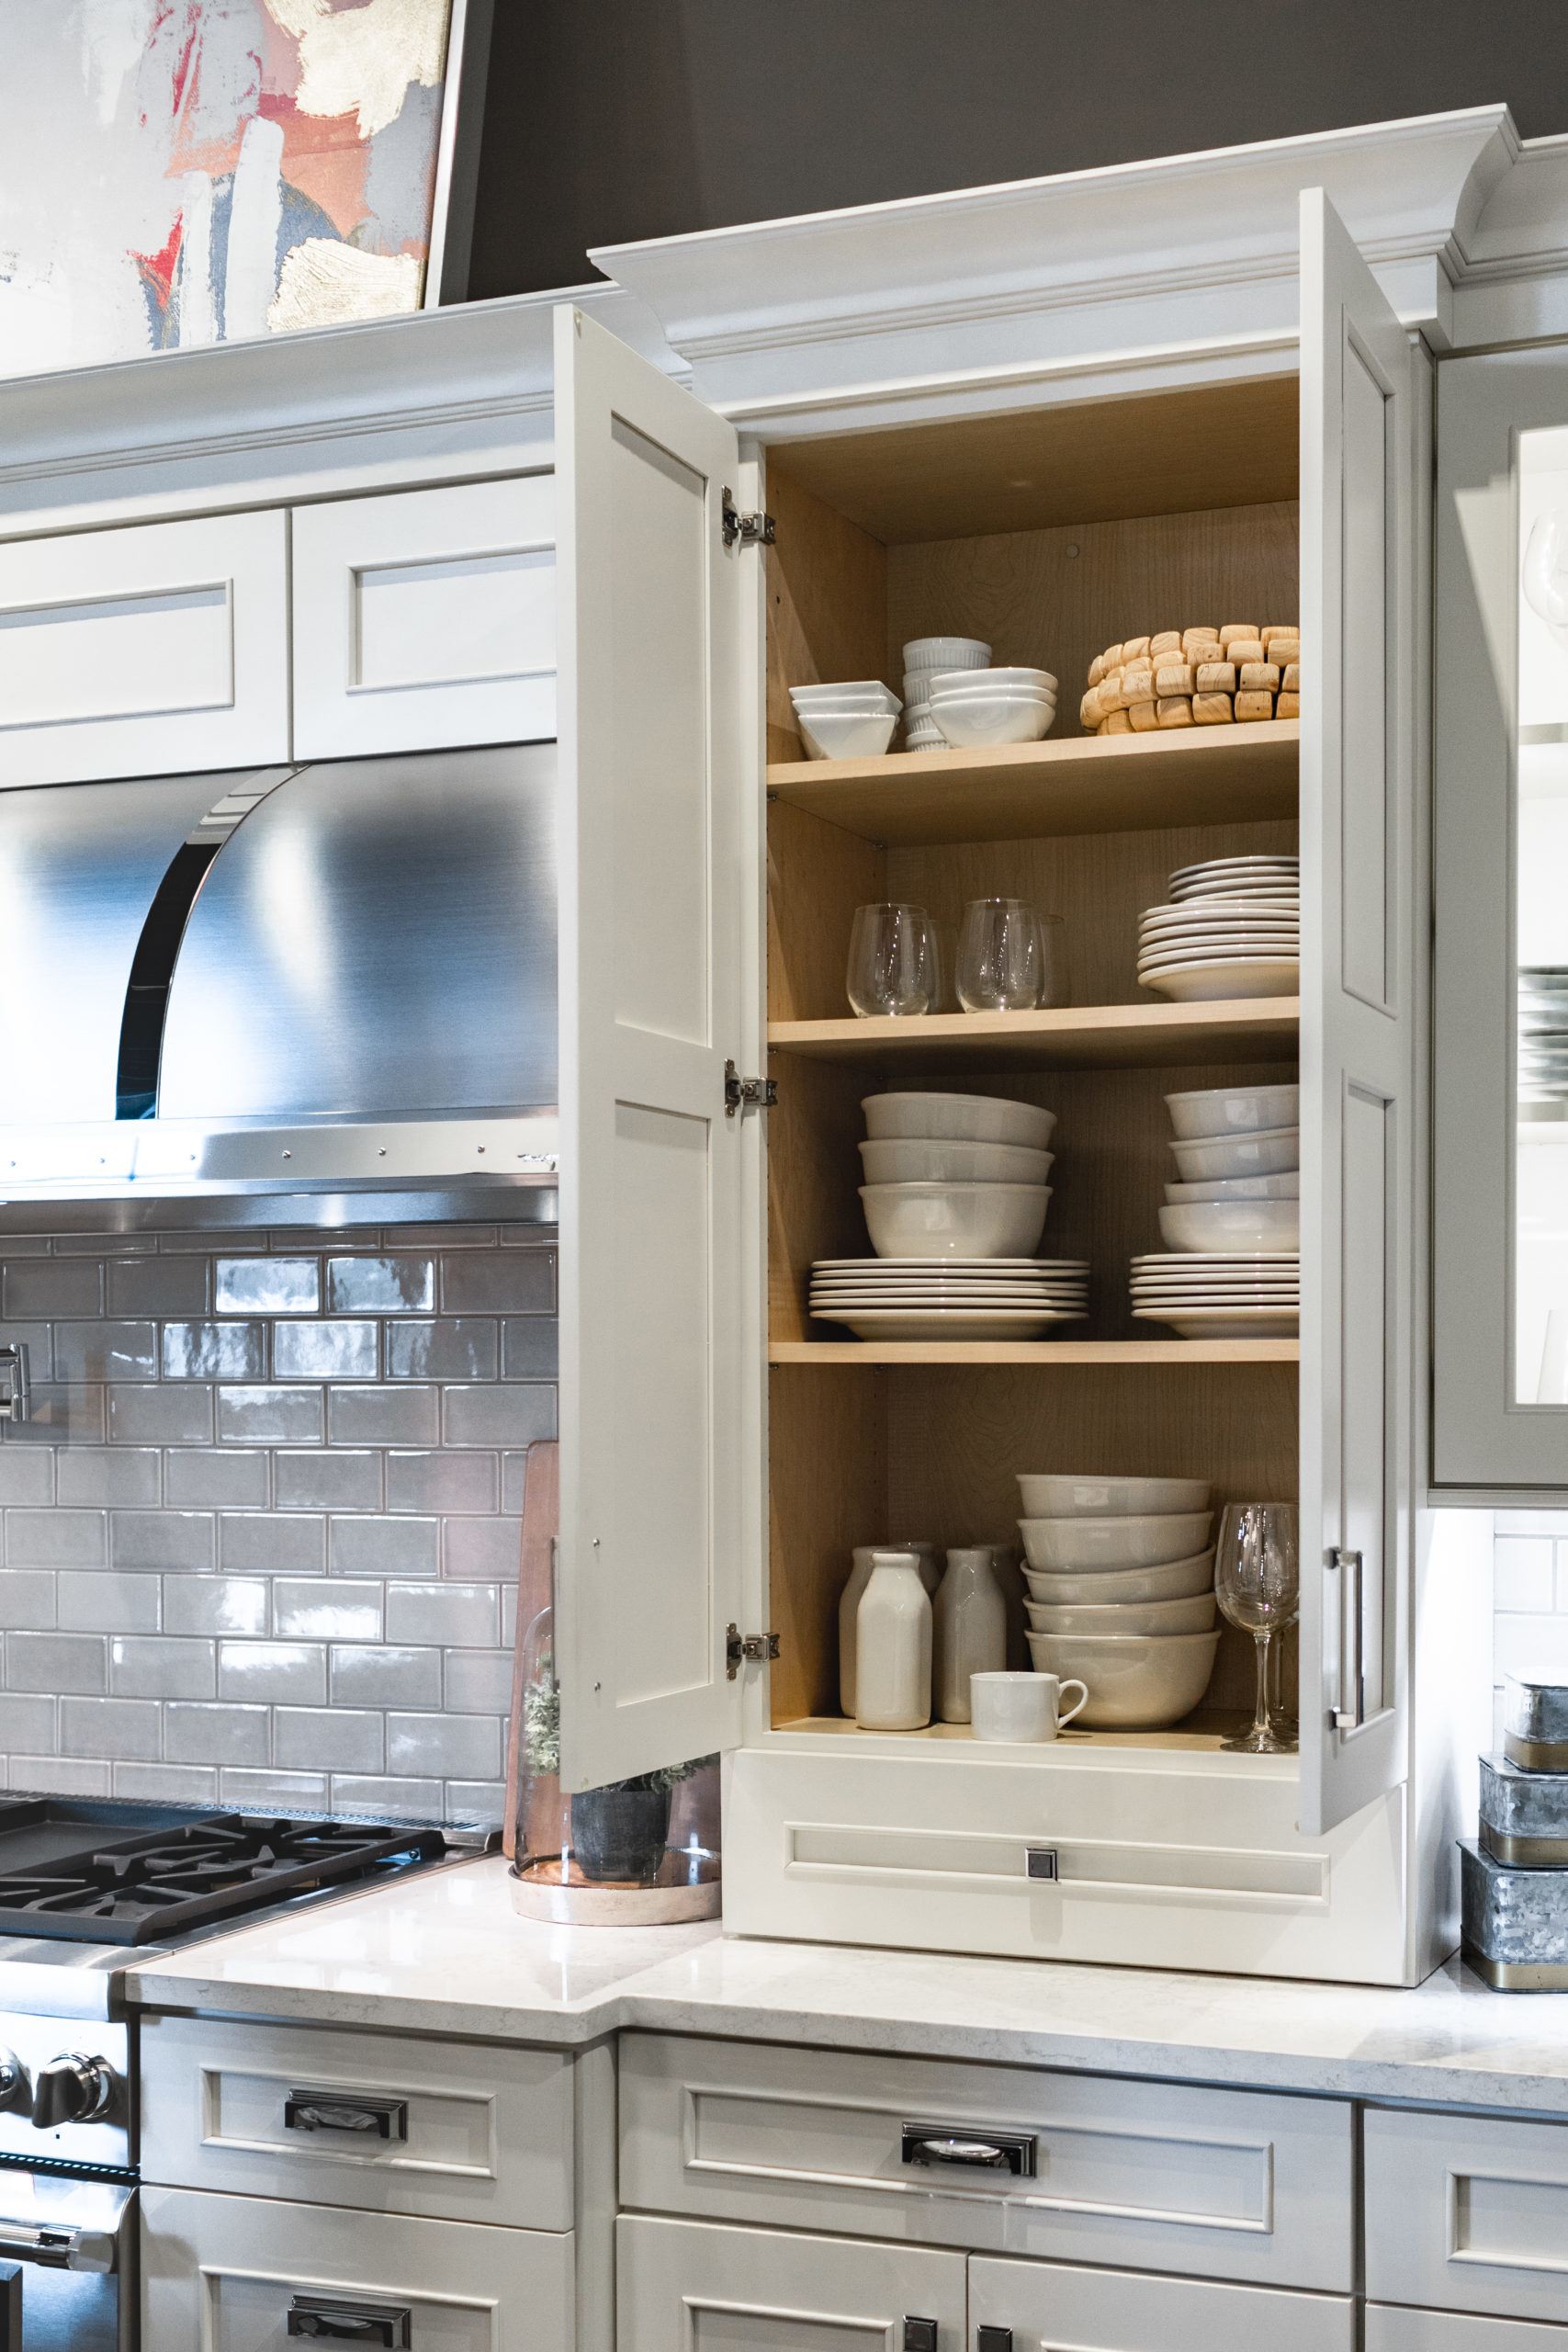
Step 2: Clear Your Counter Space
To make your kitchen appear cleaner and more pulled together, it’s important to clear your counter and find specific storage spaces for all of your stuff.
Start by making things you use daily more accessible, such as everyday cookware, and store away less frequently used items such as baking sheets and mixing bowls.
Your cabinets are there for a reason – use them! Cabinets are the most natural and efficient form of storage in your kitchen and if you utilize them well, your items will not only be organized but they will also look great! One of our favorite storage solutions is an appliance garage. It’s an amazing way to have your kitchen appliances accessible, but not an eyesore.
Here is a list of things to consider clearing from your countertop/open space:
- Dish towels
- Wooden spoons or cooking utensils
- Oven mitts
- Cutlery
- Pantry items
- Small kitchen appliances
- Produce
- Kitchen gadgets
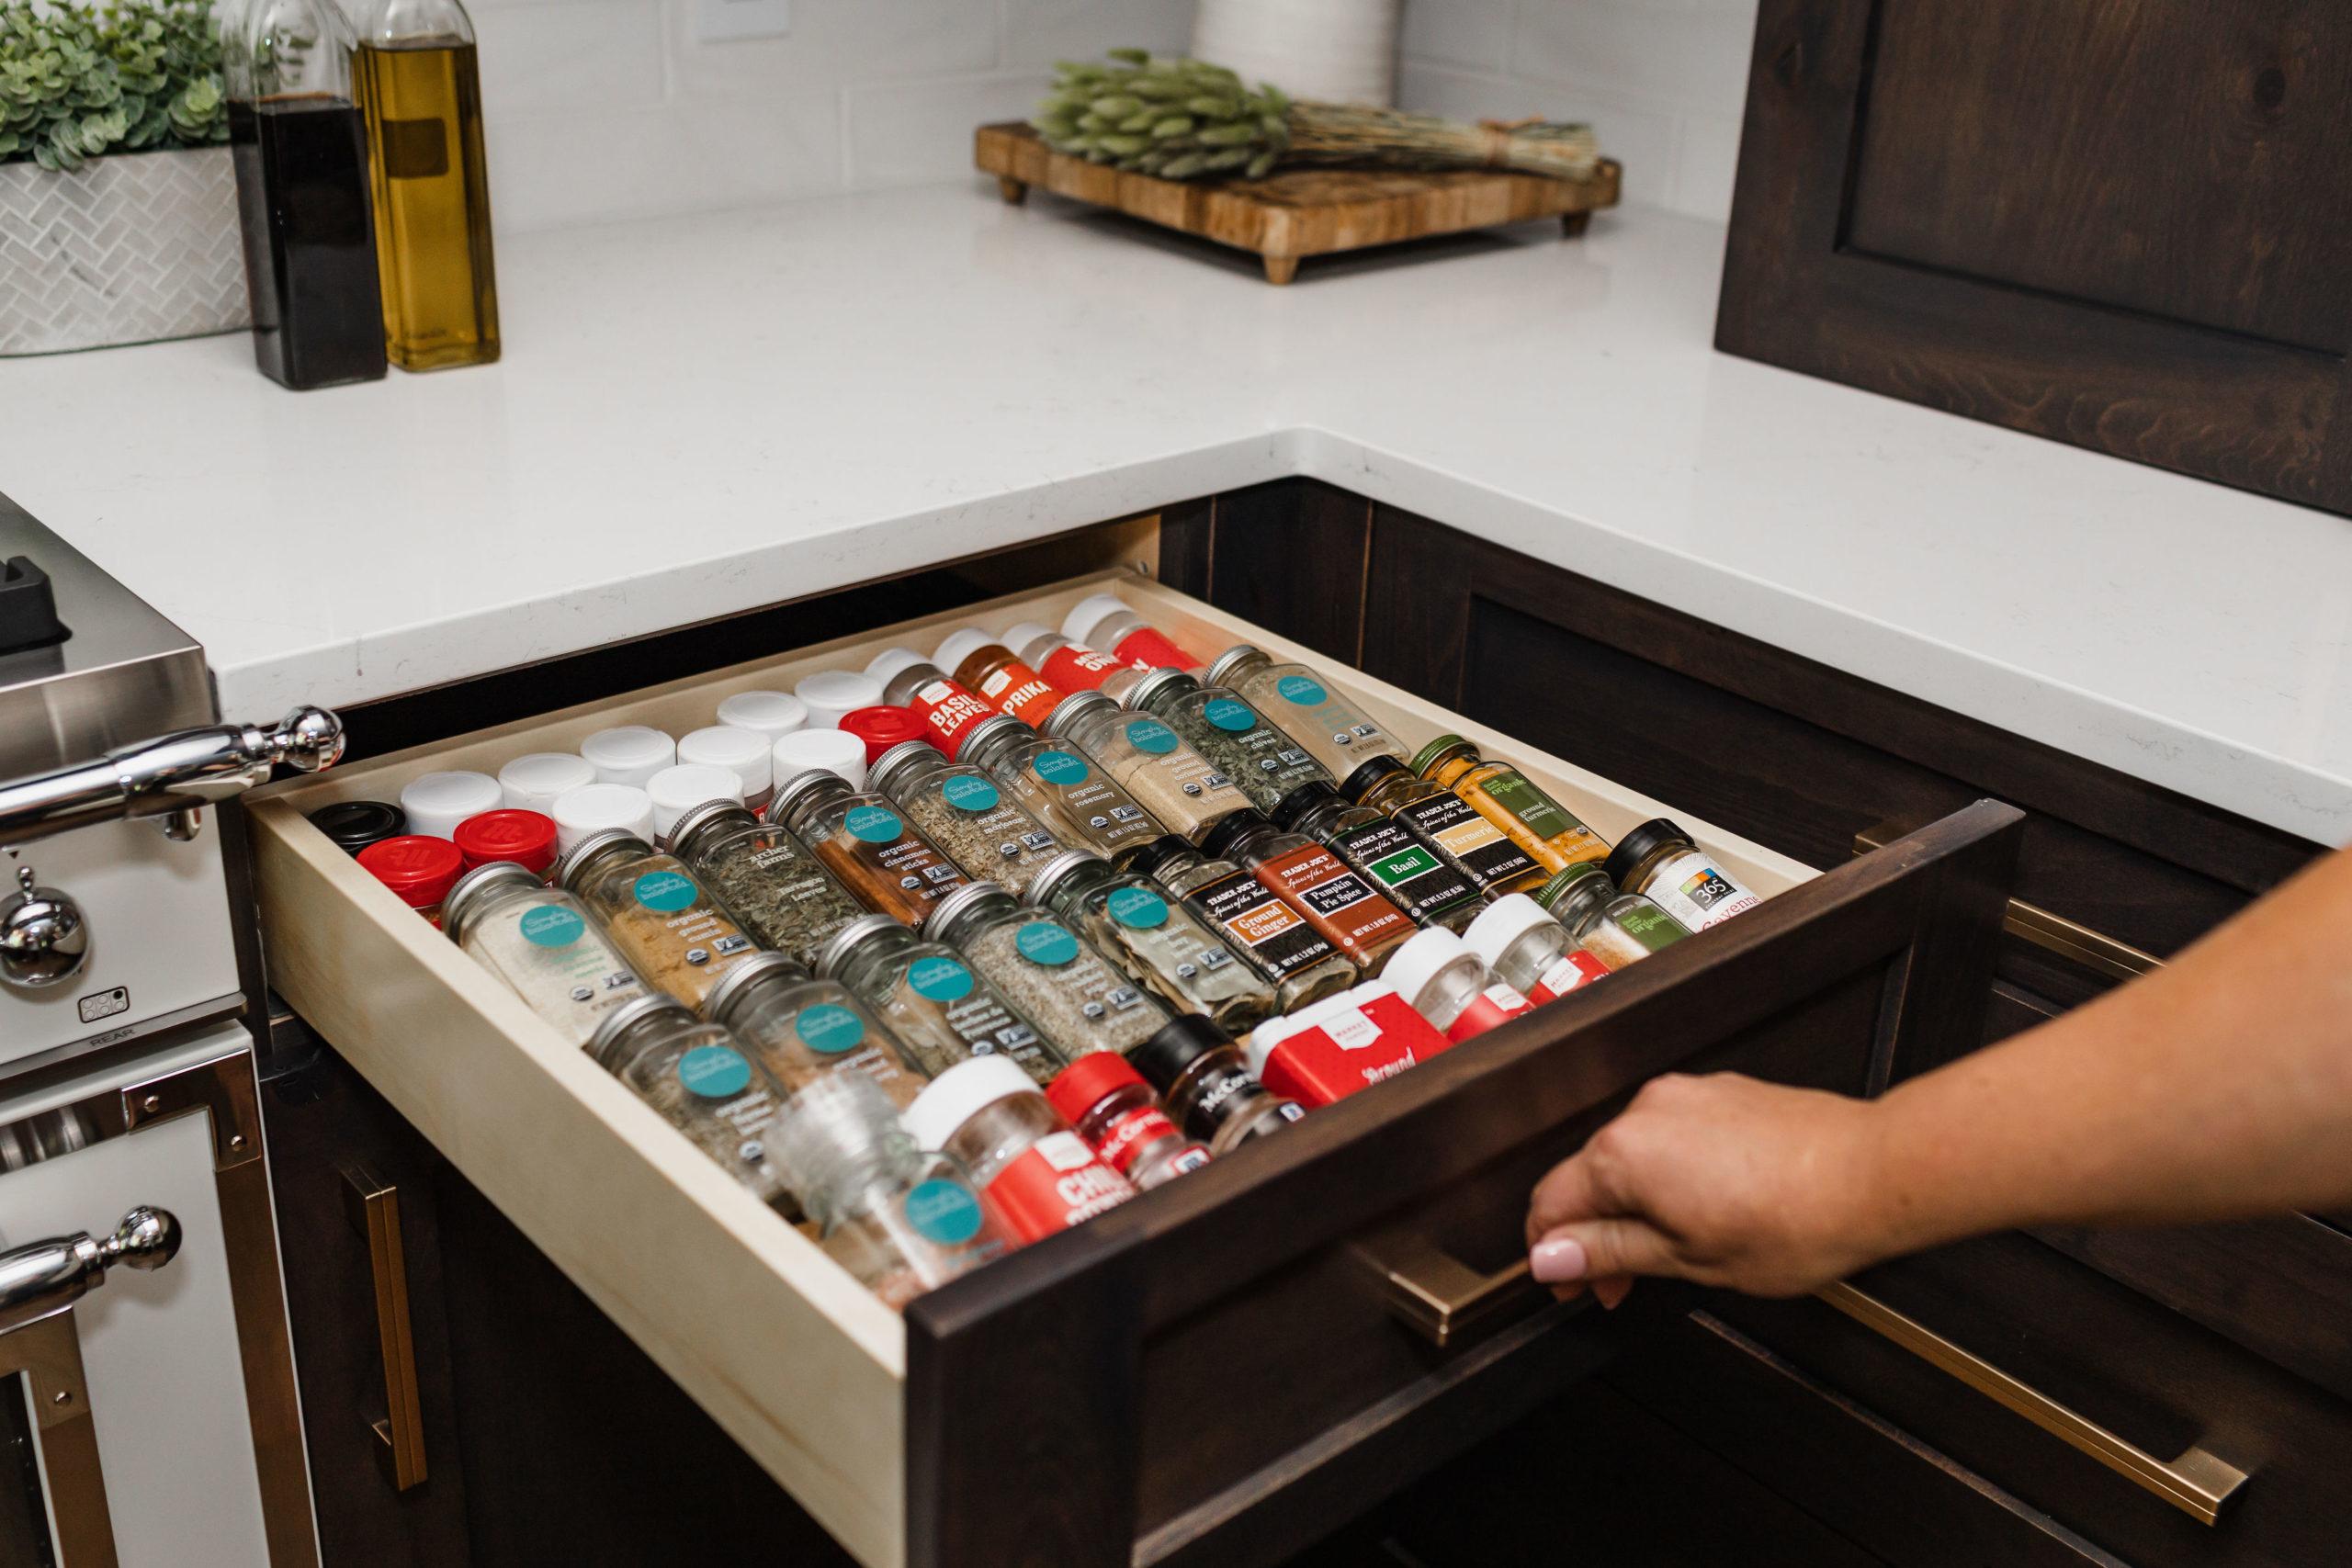
- Spices
- Cookbooks
And even though you don’t want these items crowding your countertops, they still need to be on hand if you need them. We suggest dedicating a drawer right next to your cook top for things like oven mitts and cooking utensils so that when you are cooking, you have everything you need right at your fingertips.
Note: To best maximize your storage while also keeping your clutter to a minimum, you can buy affordable storage solutions online such as spice jars, recipe organizers, food containers and more.
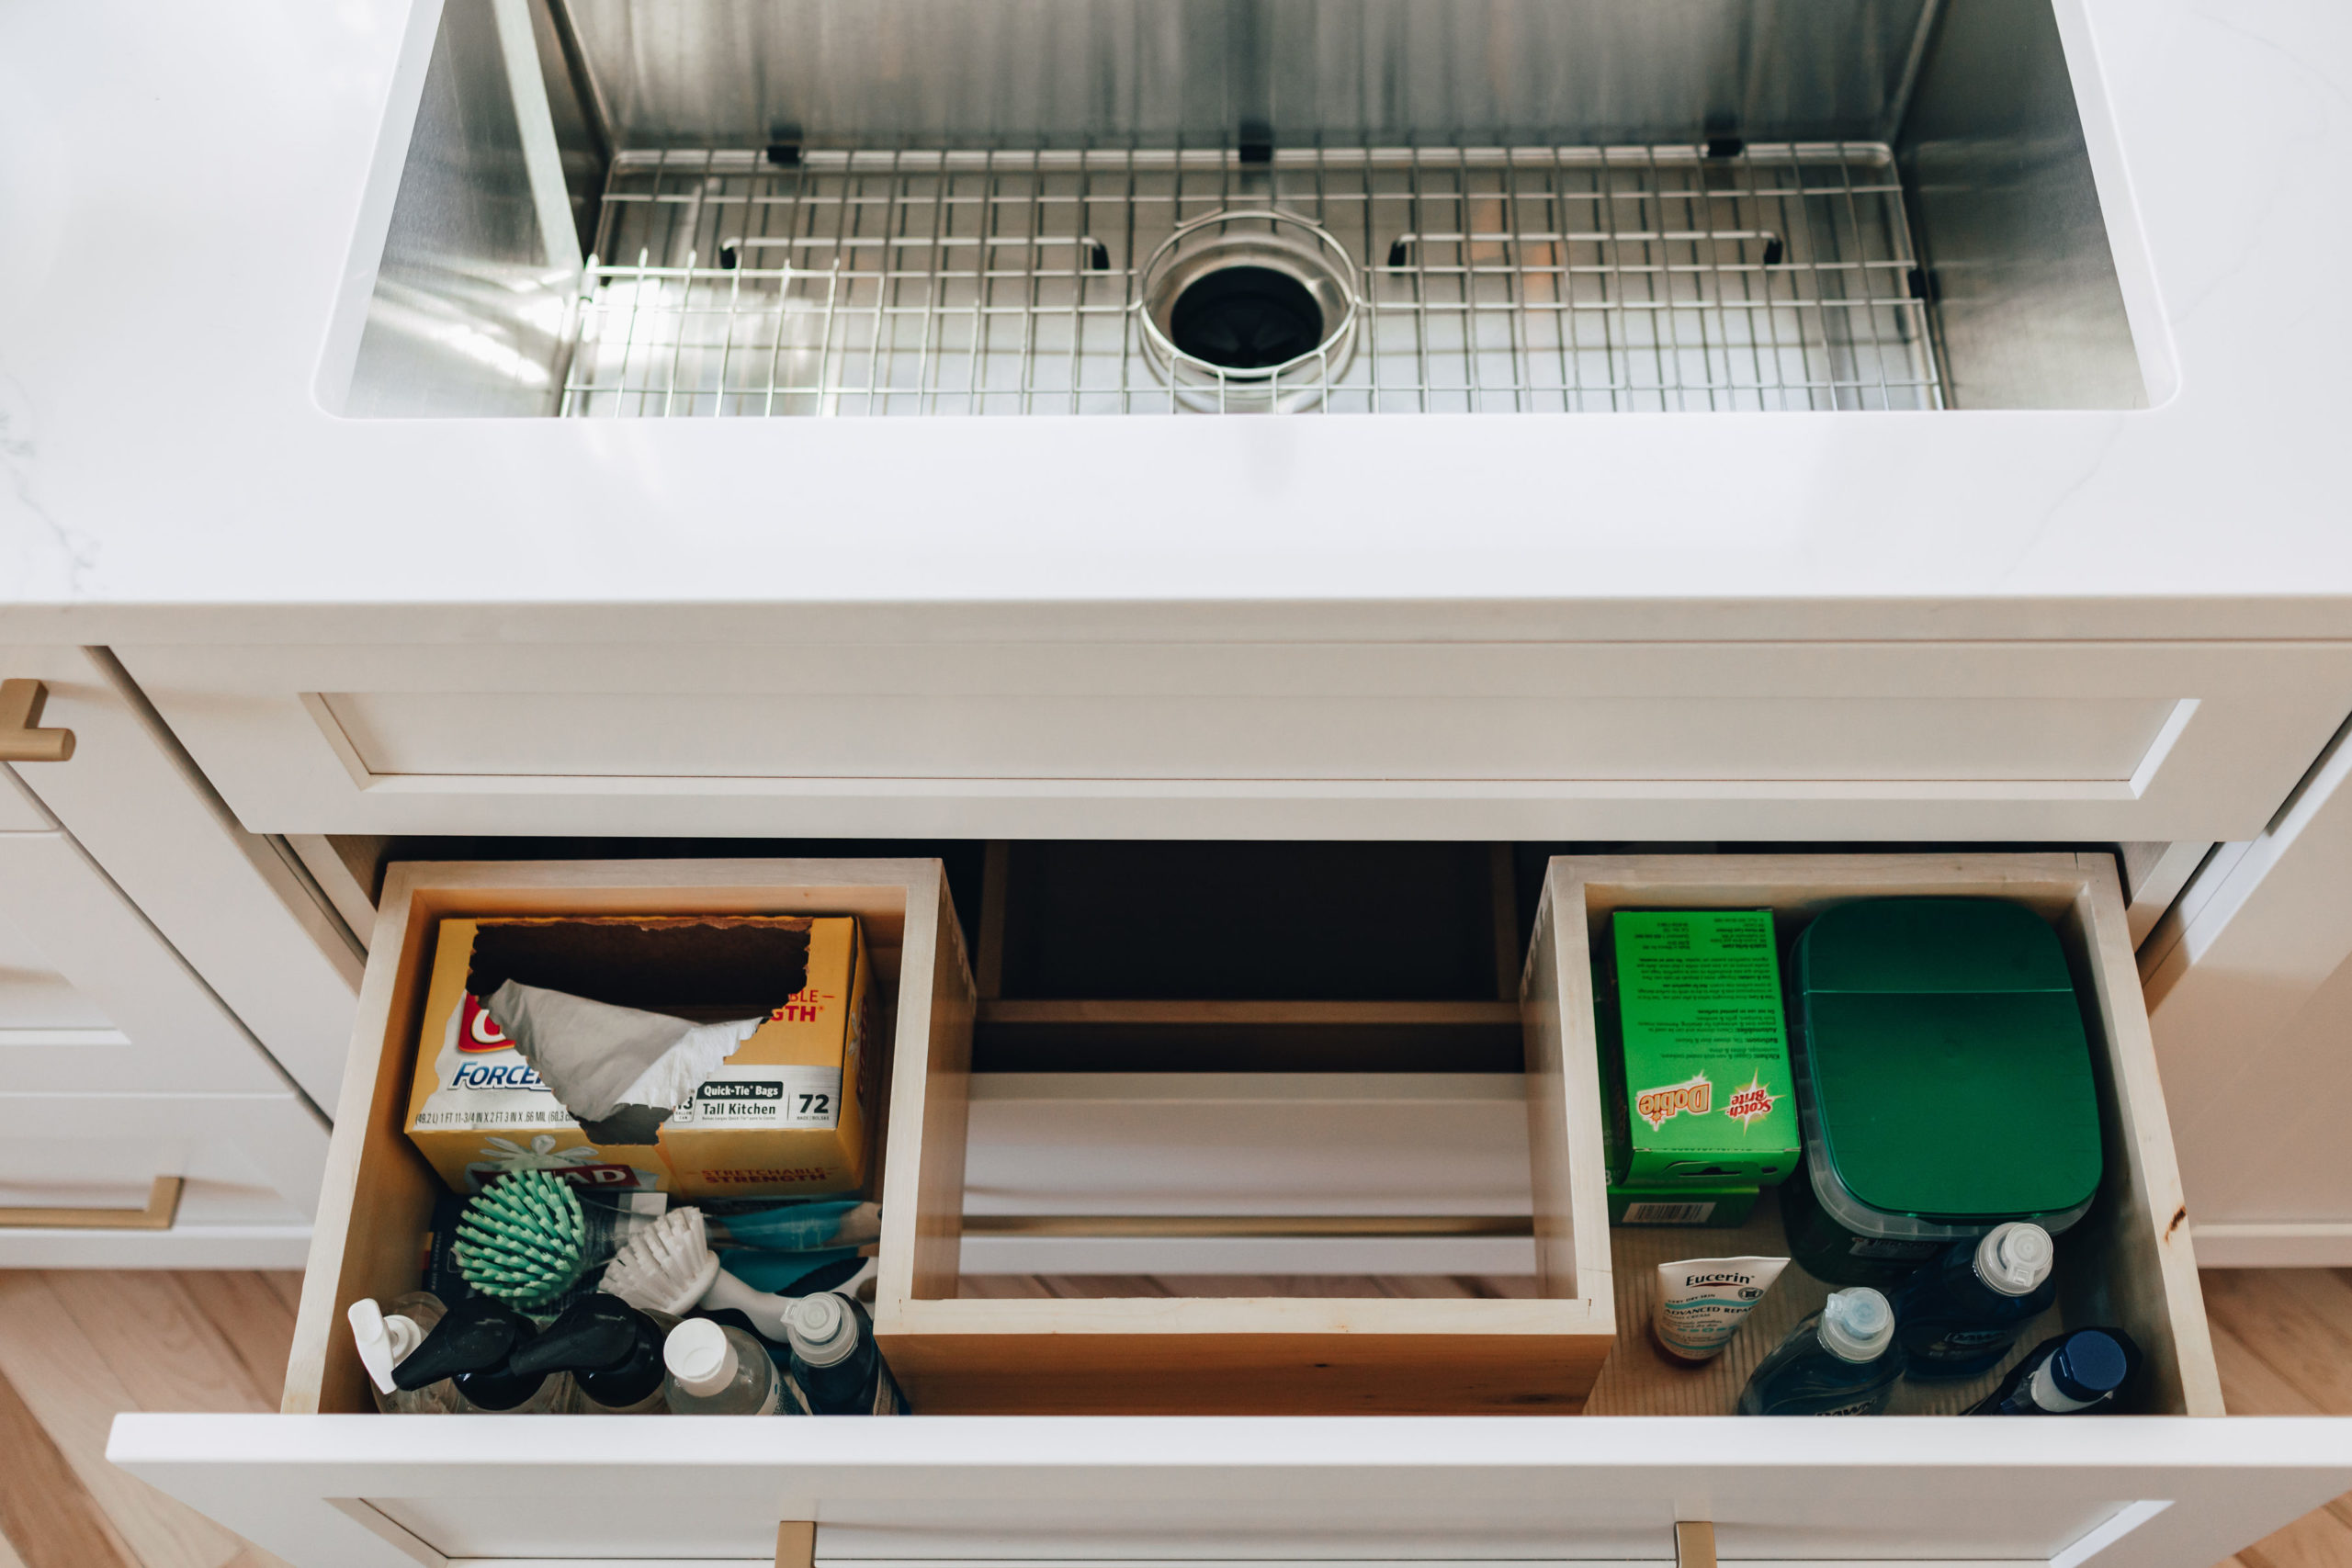
Step 3: Organize Under your Sink
The space under your sink is typically where you keep your cleaning supplies, but then why does this space usually seem so DIRTY?!
The area underneath your sink should never be a dumping zone. It’s important to keep all of your cleaning supplies in a clean area by creating an organized space. Do this by going through your cleaning supplies and throwing away any duplicates or anything that is expired. It’s also time to give that old sponge its eviction notice. Old sponges or cloths are a potential breeding ground for bacteria. If you keep your waste under the sink this could also be a great opportunity to wipe down your trash bin since it, too, can also be home to a lot of harmful germs, not to mention spills from overflow, etc.
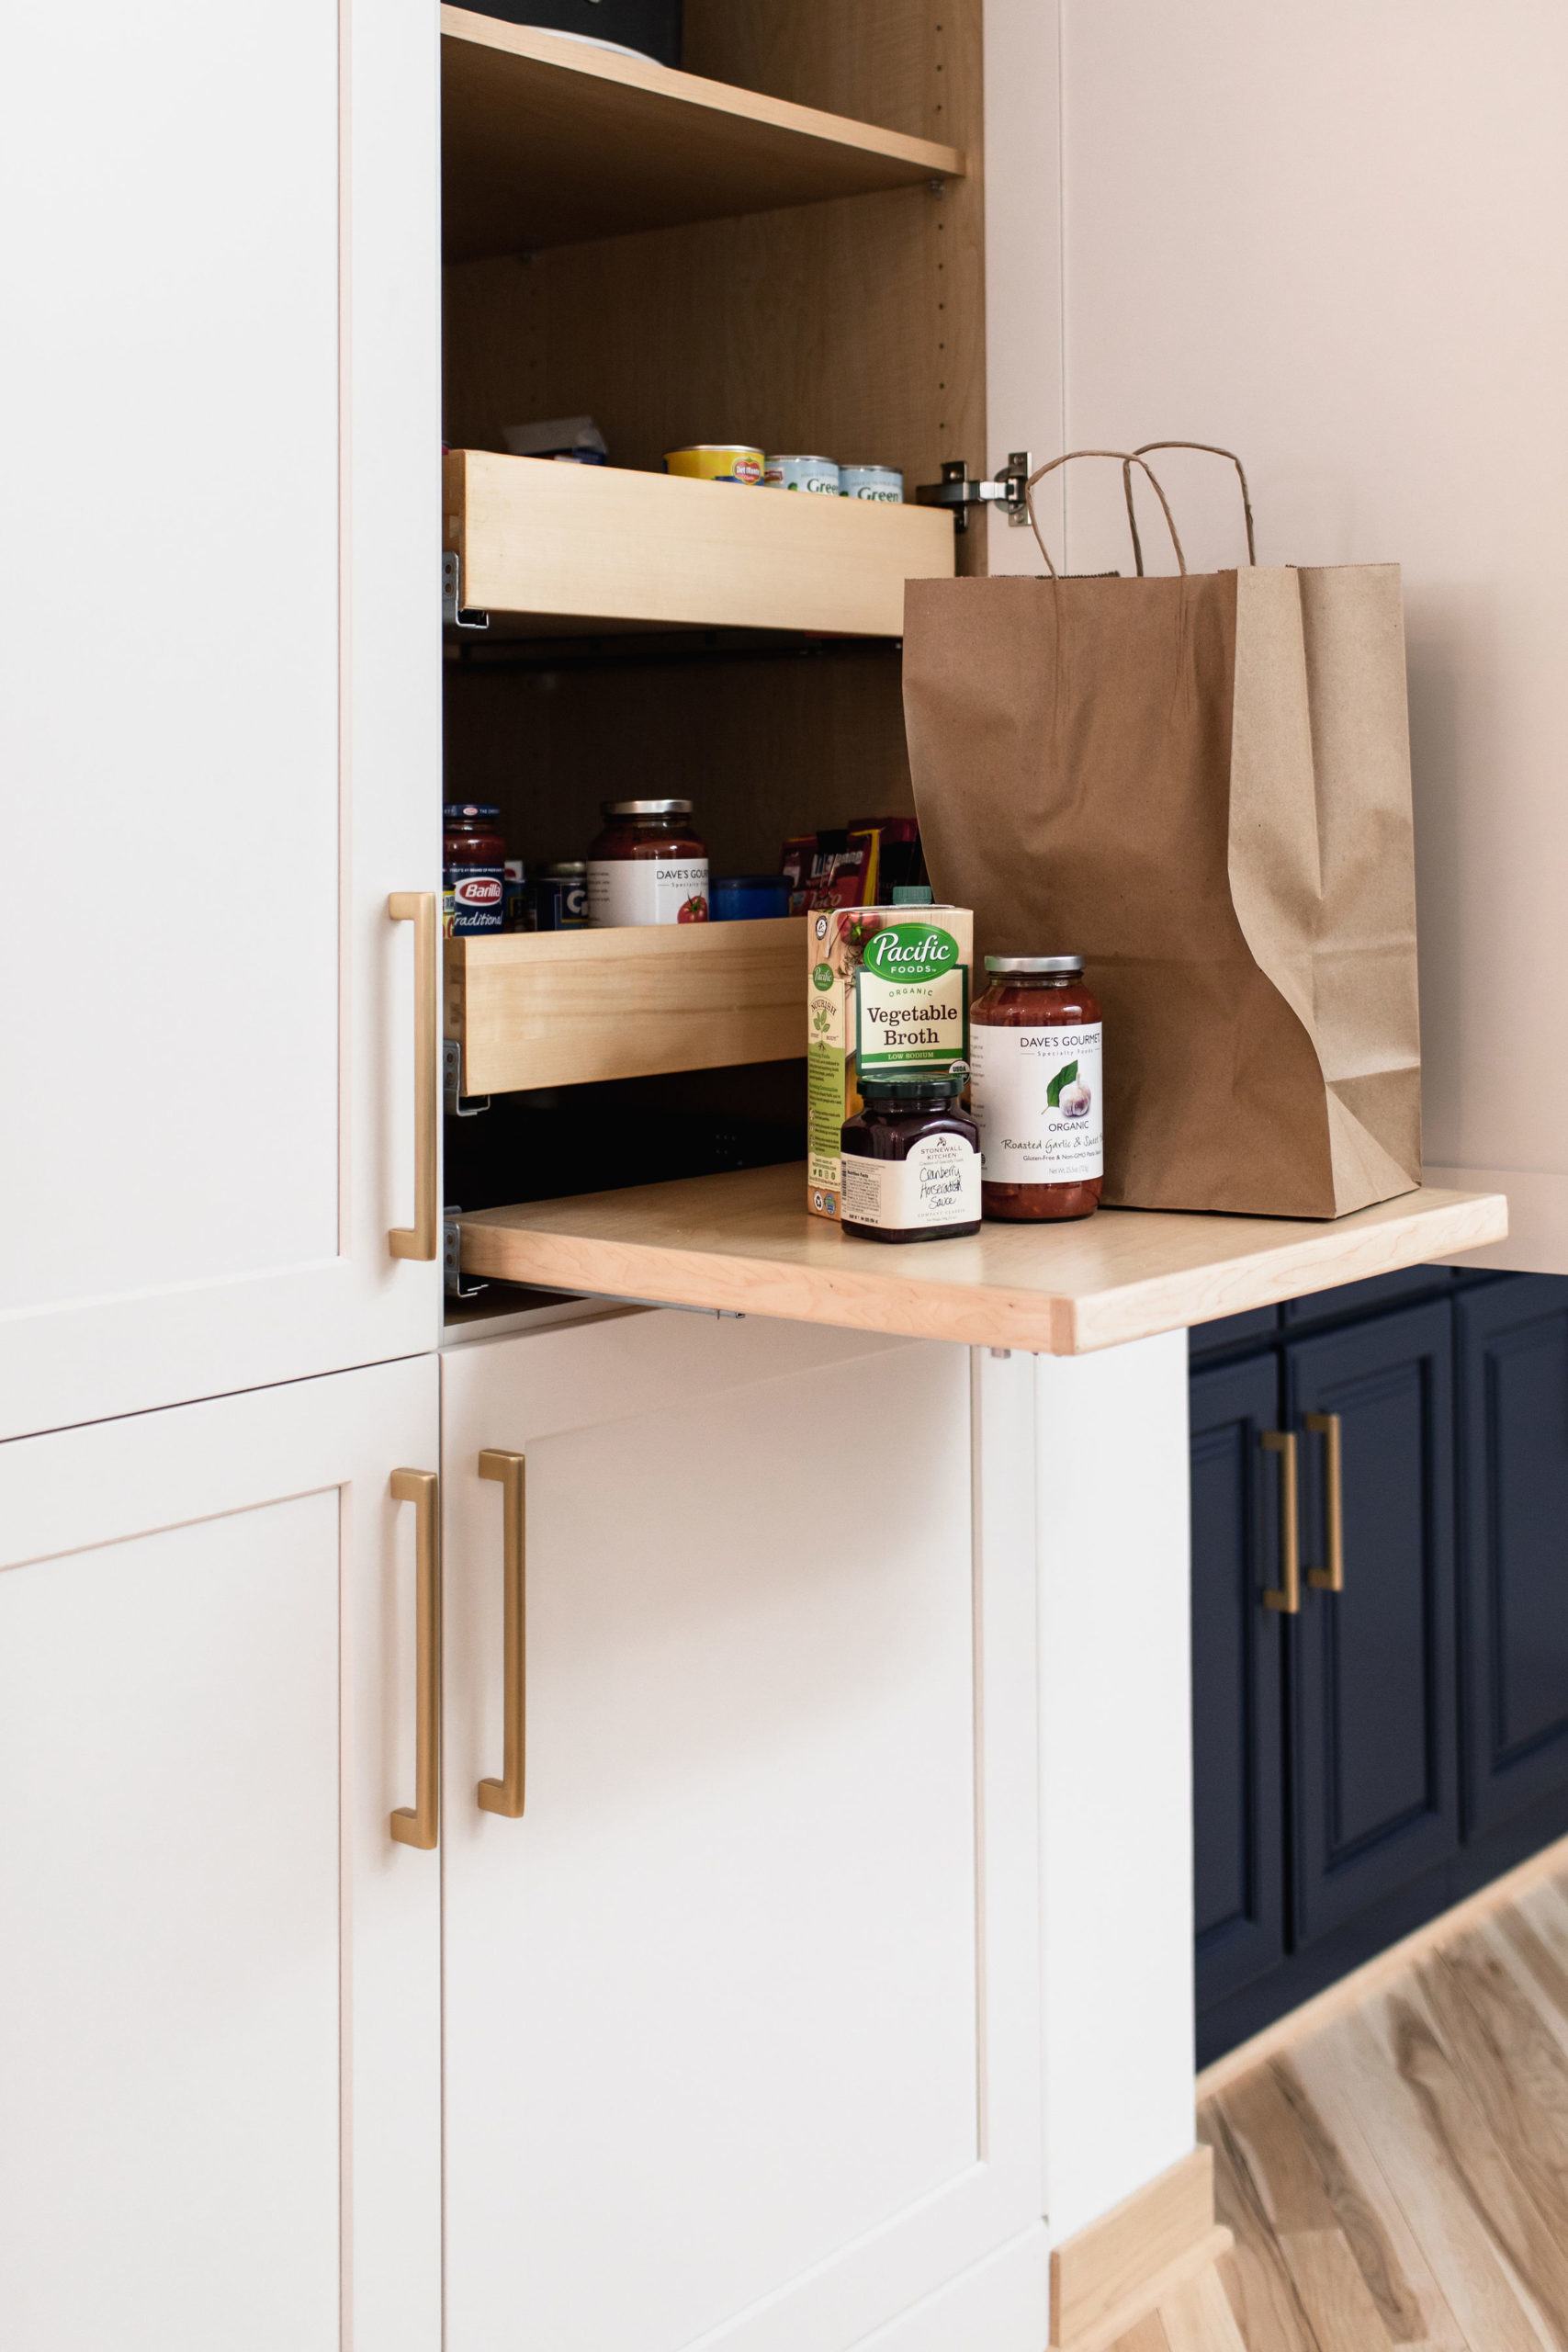
Step 4: Clean out your Pantry and Refrigerator
While this step is one that most people dread, cleaning out your pantry/refrigerator is key to a healthy and organized kitchen.
And even though “out of sight, out of mind” might work for a while, that fuzzy leftover pasta that’s been shoved to the back of the refrigerator for the last month needs to go.
Make sure to go through your refrigerator and pantry to check expiration dates and toss out anything that has overstayed it’s welcome in your kitchen. You might be surprised at some things you find that are expired such as spices, dry goods and condiments.
Once these spaces are cleaned out, make sure to re-organize them in a way that makes sense for you and your lifestyle. For example, the things that you use daily or weekly should be stored right in your line of sight so that you can grab them easily. And things that don’t get used as often can be located in a more obscure location.
Step 5: Clean Up Those Details
Now that we’ve taken care of the big stuff, let’s tackle those final details!
The front of your refrigerator can be a haven for wedding invitations, report cards and other random things. But like we said before, clutter = visual stress and a messy refrigerator is definitely stressful to look at. The solution is easy: find a place for the items on your fridge where everything is still reachable and where you won’t lose anything important. For example, a cute storage bin you can keep by the phone or on a nearby desk is a great way to keep clutter at a minimum while also keeping your stuff organized. Another great option is a trendy bulletin board! It will not only keep your papers organized but it will also add to the aesthetic of your room.
Last but not least, clean out that junk drawer… It’s so easy to just jam random things in a drawer and then shut it quickly before you have to gawk at what’s inside. But trust us, every time you put something random in that drawer, you’re just feeding the monster. Our solution is to take everything out, follow our previous decluttering protocol and throw away anything that is old or doesn’t serve a purpose in your home. We then recommend putting in a drawer organizer since it’s a great way to keep messy things like batteries and pencils organized!
We hope that with these 5 easy steps you’re able to accomplish your fall decluttering and organization! To start a project with one of our Kitchen & Bath Designers, contact us!